Last Updated on June 1, 2025 by Nico
With only 2 ingredients, this simple DIY rosehip oil is a superfood for your skin. Known to calm and hydrate skin, rosehips are an enriching addition to any cleansing routine.
Handmade rosehip oil is a simple yet luxurious way to care for oneself or a loved one. I was introduced to foraging wild rosehips by a friend and have been enjoying the process of making small batches of rosehip oil for friends and family this autumn season
(If you’re looking for simple handmade gift ideas you could also try making herbal whipped body butter or calendula lip balm.)
Slowing down enough to spot the bright red rosehips amongst the autumn leaves when I’m out and about has become a real pleasure. I hope you can slow down with me to match a soothing batch for this oil too.

Benefits Of Rosehip Oil For Skin
Rosehips contain medicinal compounds that can help to reduce inflammation. This means that topical use of rosehip oil can help to sooth skin conditions such as eczema and acne.
Rosehips are also high in vitamin C which can have antioxidant effects on the skin. This is why rosehip oil can help to enliven and brighten skin.

Watch The Video
FAQ
1. Use 2-3 drops as a daily facial moisturiser.
2. As a body moisturiser on especially dry places such as elbows, heels, or cuticles.
3. Use as a light massage oil by adding multiple drops to your hands, rubbing your hands together to warm the oil and using it to massage.
4. Gently massage into any scars or blemishes to help reduce the inflammation
5. As hair oil – add 1-2 drops to my hands and run my fingers through the ends of wet hair
It depends on the oil you use to infused the rosehips. Stay away from using coconut oil or olive oil if you have oily skin. Instead consider using jojoba oil, which is very light.
Ingredients
Dry Rosehips – They must be dried to prevent the rosehip oil from going rancid, which is caused by moisture in the rosehips. I foraged my rosehips from around my local community. I then cut each in half and dried them in my oven on low heat for many hours.
Oil Options – Jojoba oil or argan oil are wonderful options because each has their own additional benefits to the skin. I also like to use organic sesame oil because it is high in vitamin B and can with inflammation and redness.
For complete measurements, see the printable recipe card below.
Tools
A Small Glass Jar – I use glass pint jars
Cheesecloth – or a small strainer
A Glass Storage Bottle – you can use a dropper or pump bottle, or simply repurpose a small bottle you already have on hand. Make sure your bottle is glass.
Instructions
If you are foraging rosehips like me, wash the rosehips and remove any that are soft or have dimpling (like the photo below). Then cut them in half to increase the surface area that is exposed to the oil while it infuses.

Place the rosehips onto a baking sheet and into an oven for 5-6 hours on the lowest heat your oven can go (or use a dehydrator). Make sure your rosehip are completely dehydrated before infusing them in oil, to avoid the oil from spoiling more quickly.
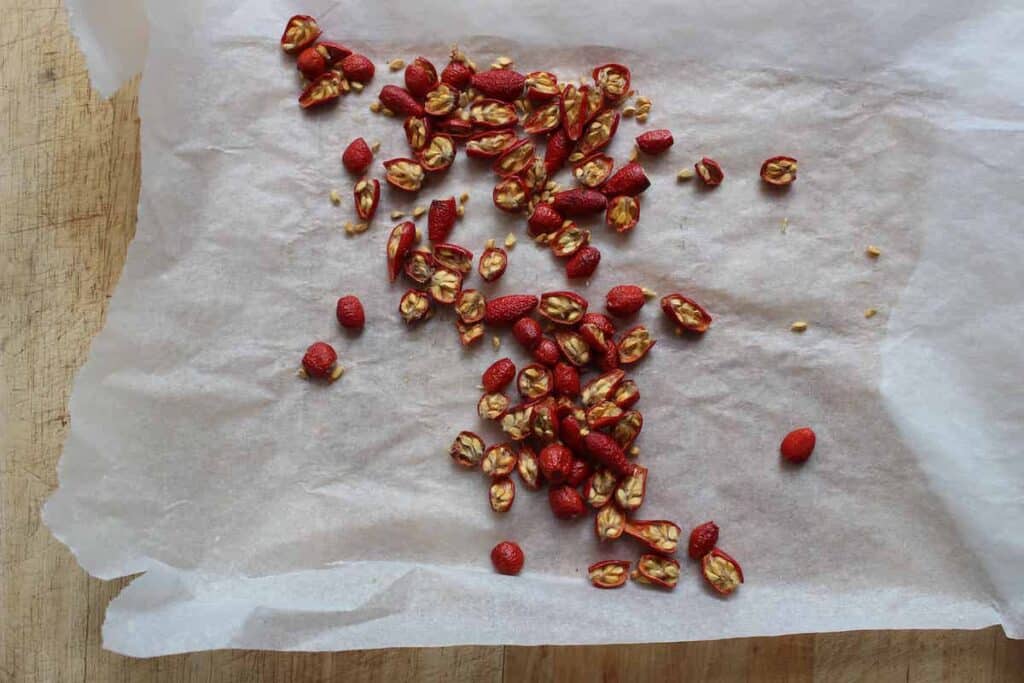
Fill a glass pint jar ½ of the way full of dried and halved rosehips. There is no need to de-fuzz or de-seed the rosehips. Rosehip seeds have their own medicinal compounds so they can be of benefit to leave in.
Next, pour in enough oil so that the dried rosehips are completely submerged.
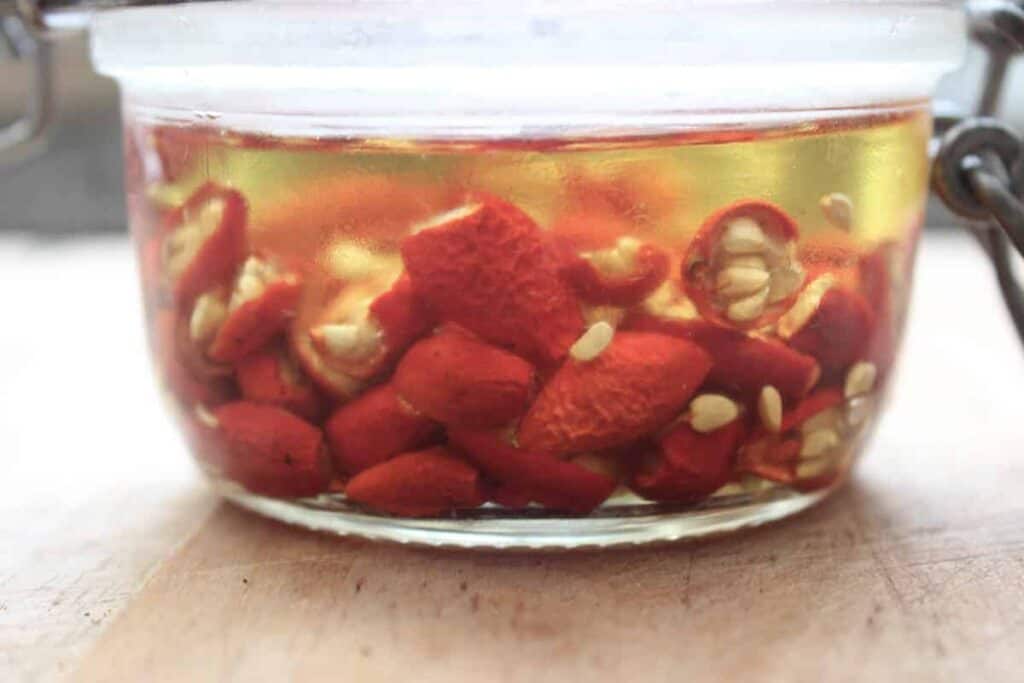
Keep in mind that however much oil you pour into the jar will be how much rosehip oil you end up with. In order to increase the concentration of your rosehip oil, so make sure to cover the rosehips completely but avoid pouring an excess.
Put a tight lid onto the jar and store in a cool, dark place for 3-4 weeks.
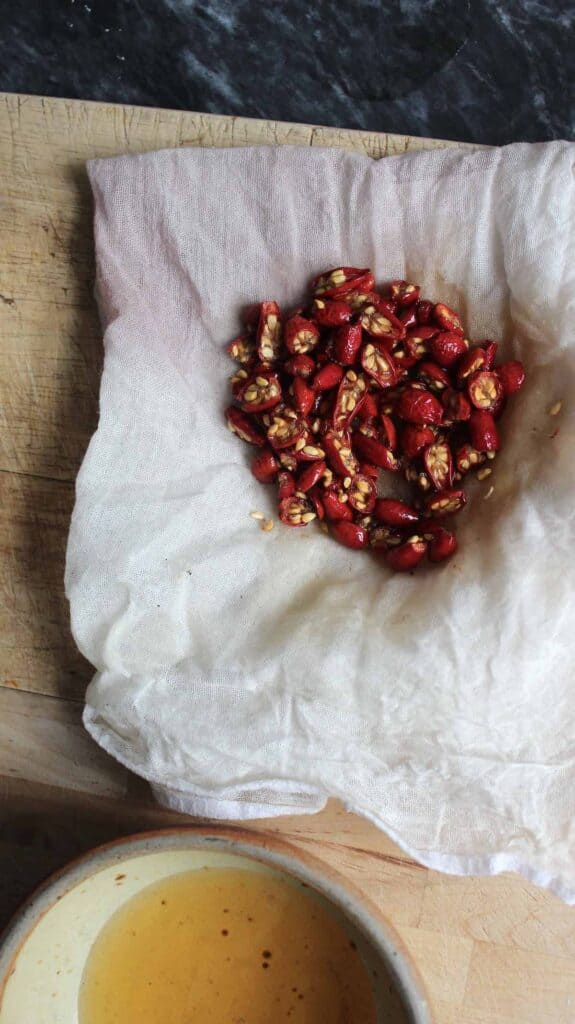
After about a month, strain off the rosehips using cheesecloth or a small strainer. You can compost the solids. If you notice small hairs from the rosehips in your oil, you can fold your cheesecloth multiple times to make sure they are strainer out the oil.
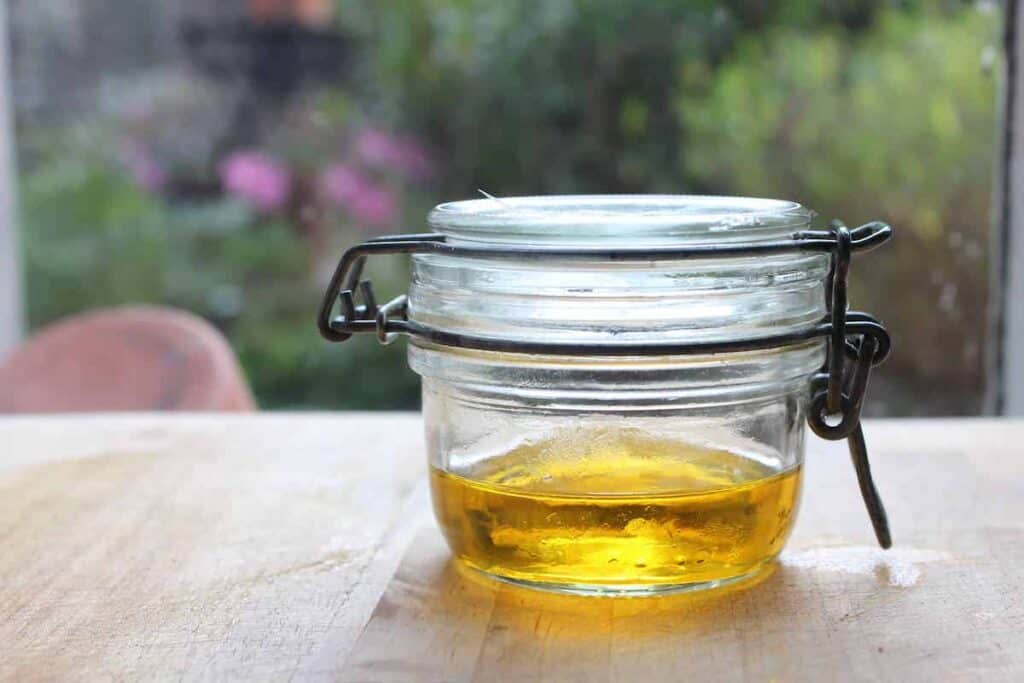
Pour the oil into your storage bottle and enjoy. The rosehip oil will last about 6 months – if the oil becomes cloudy or develops a smell, it has likely no longer good.
What to read next
Quick Lip Balm Shea Butter Recipe (Only 2 Ingredients)
3 Simple Herbal Bath Tea Recipes
Simple Herbal Remedies For Fall & Winter With Grass Roots Remedies
Herbal Non-Greasy Whipped Shea Butter Recipe
Simple Body Butter Recipe With Beeswax
Simple DIY Calendula Lip Balm Recipe
DIY Homemade Comfrey Salve Recipe (Healing Ointment)

If you make this how to and enjoy it, please consider giving it 5 stars. Find me on Instagram @documentingsimpleliving and show me what you’ve made!

How To Make Cold Infused Rosehip Oil
Ingredients
Equipment
Method
- If you are foraging rosehips like me, wash the rosehips and remove
any that are soft or have dimpling (like the photo below). Then cut them in half to increase the surface area that is exposed to the oil while it infuses. - Place the rosehips onto a baking sheet and into an oven for 5-6 hours on the lowest heat your oven can go (or use a dehydrator). Make sure your rosehip are completely dehydrated before infusing them in oil, to avoid the oil from spoiling more quickly.
- Fill a glass pint jar ½ of the way full of dried and halved rosehips. There is no need to de-fuzz or de-seed the rosehips. Rosehip seeds have their own medicinal compounds so they can be of benefit to leave in.
- Next, pour in enough oil so that the dried rosehips are completely submerged.
- Keep in mind that however much oil you pour into the jar will be how much rosehip oil you end up with. In order to increase the concentration of your rosehip oil, so make sure to cover the rosehips completely but avoid pouring an excess.
- Put a tight lid onto the jar and store in a cool, dark place for 3-4 weeks.
- After about a month, strain off the rosehips using cheesecloth or a small strainer. You can compost the solids. If you notice small hairs from the rosehips in your oil, you can fold your cheesecloth multiple times to make sure they are strainer out the oil.
- Pour the oil into your storage bottle and enjoy. The rosehip oil will last about 6 months – if the oil becomes cloudy or develops a smell, it has likely no longer good.
Video
Notes
Oil Options – Jojoba oil or argan oil are wonderful options because each has their own additional benefits to the skin. I also like to use organic sesame oil because it is high in vitamin B and can with inflammation and redness.
Leave a Reply