Last Updated on June 1, 2025 by Nico
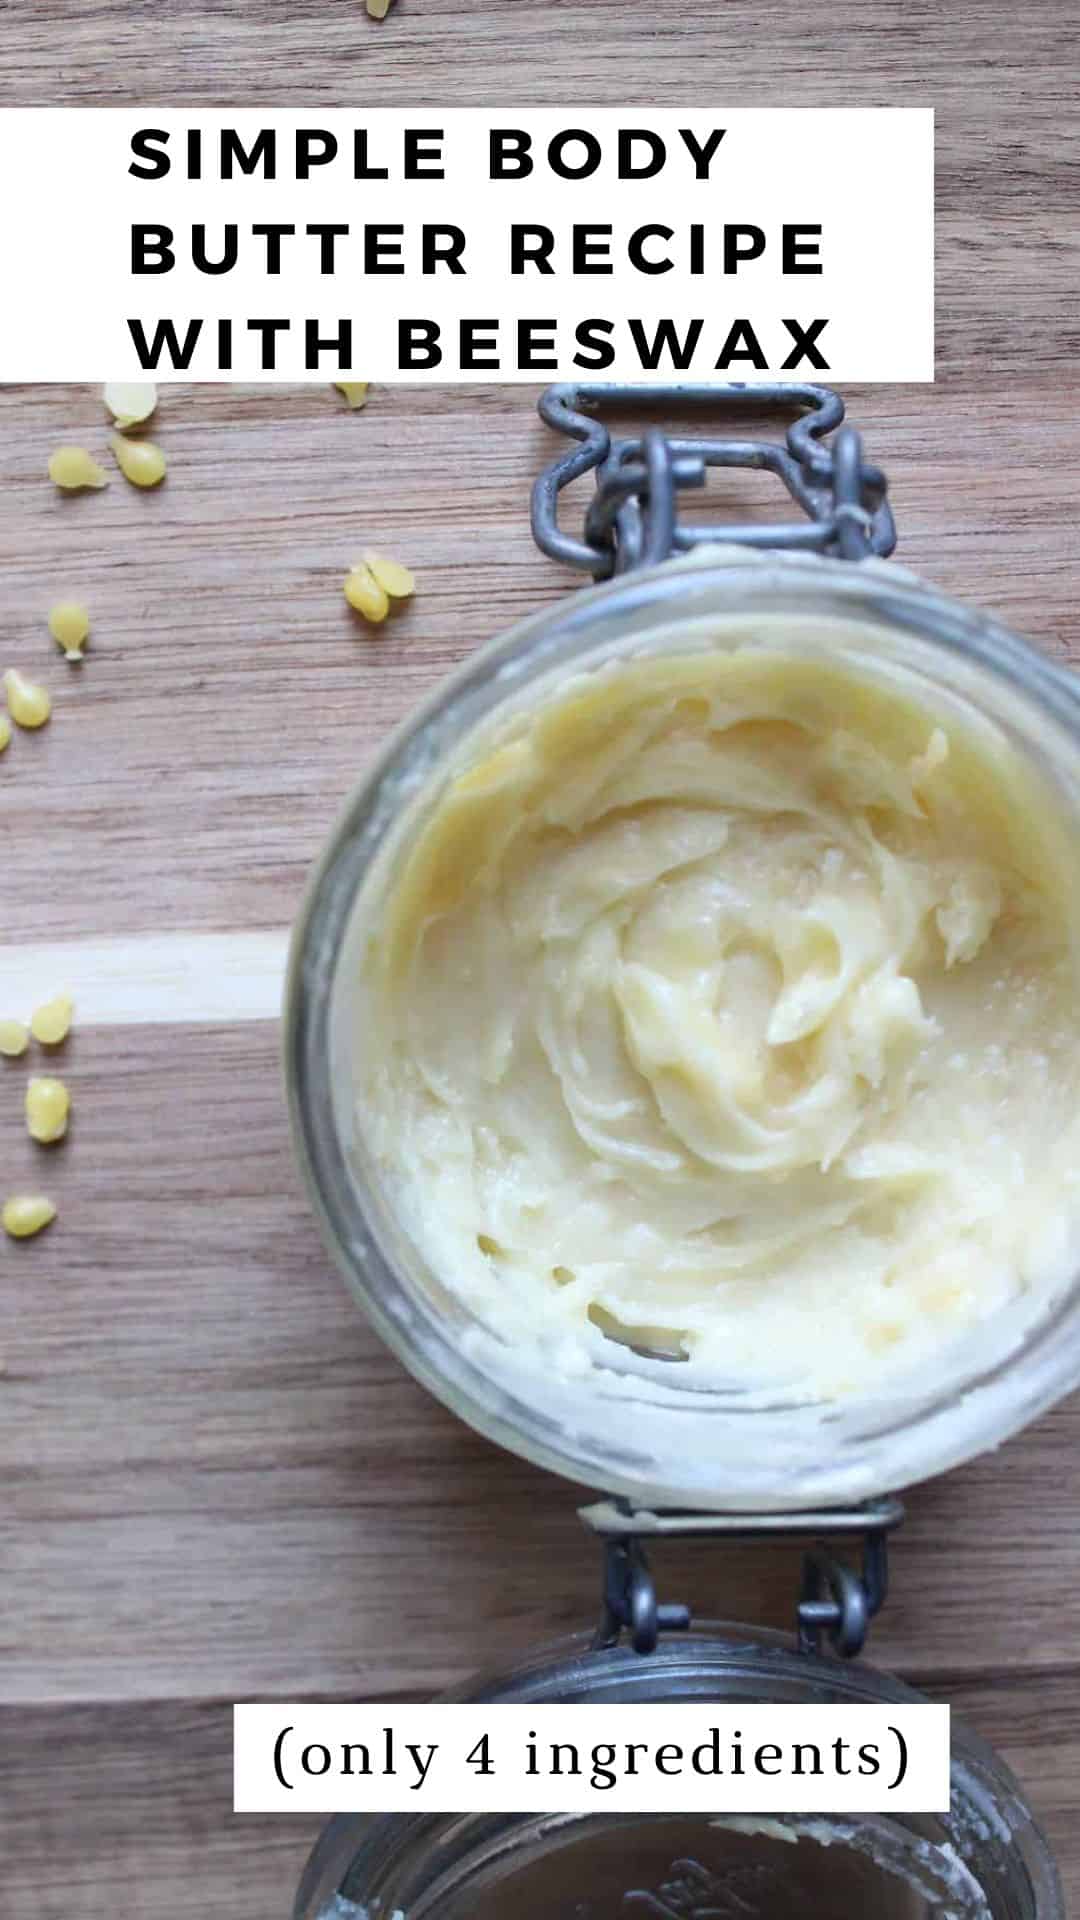
With only 4 ingredients, this body butter with beeswax recipe is simple to whip up and makes a wonderful gift for friends and family. Free from synthetic fragrances and other toxic ingredients, homemade body butters are more economical and nourishing than store-bought options.

Beeswax body butters are wonderful because they last a very long time, are simple to make, use only natural ingredients, and make cozy gifts for friends and family. (You could also try making cold infused rosehip oil or herbal whipped shea butter).
FAQ
Beeswax helps to thicken up homemade body butters and helps to create a light coating over the skin. This helps the body maintain its natural moisture.
Beeswax is full of anti-oxidants which can help the skin to have a renewed look. It also helps to soften skin and improve the elasticity in the skin.
It has antiseptic properties which can help protect the skin.
Beeswax is also anti-inflammatory, which means it can help reduce redness and irritation.
It depends on what you’re making with these ingredients. Shea butter can help maintain a homemade body care product’s consistency whereas beeswax has nourishing properties. Both have antibacterial properties and can easily be combined to create a wonderful homemade body butter or lip balm.
Watch The Video

Tips
The measurements for making homemade body butter are flexible. Don’t feel like you have to have exactly the right quantities to make this body butter – just the general amounts. And you’re free to swap out ingredients and experiment!
Making body butters (or candles) with beeswax can be messy. Melted beeswax can be tough to completely remove from glass bowls. I recommend setting aside one glass bowl to use for all of your homemade body butters so that you don’t have to worry about getting the bowl completely clear of melted beeswax. Once the beeswax is combined with coconut oil, shea butter, and cocoa butter, it’s easier to clean.
I like using the shavings rather than a large chuck so it melts faster and the mixture comes together more quickly.
Tools
Double Boiler – or make your own by using a glass bowl on a saucepan
Popsicle Stick (for stirring)
Food Processor
Glass Jar (for storage)
Kitchen Scale – but don’t worry I’ve included conversions in the how-to card below
Spatula
Ingredients
Coconut Oil – can reduce inflammation and keep skin moisturised. Here’s a bulk organic source.
Shea Butter – has anti-inflammatory and antioxidant properties. Here’s a bulk source.
Cocoa Butter – extremely moisturizing – here’s a good source.
Beeswax – nourishing to the skin, helps the skin retain moisture, and helps bind the body butter together. I recommend buying beeswax from a farmer local to you, but if you don’t have any, here is a source.
Arrowroot Powder – helps to reduce any greasiness of the body butter
Essential oils (optional) – for scent
For complete measurements, see the printable recipe card below.

Instructions
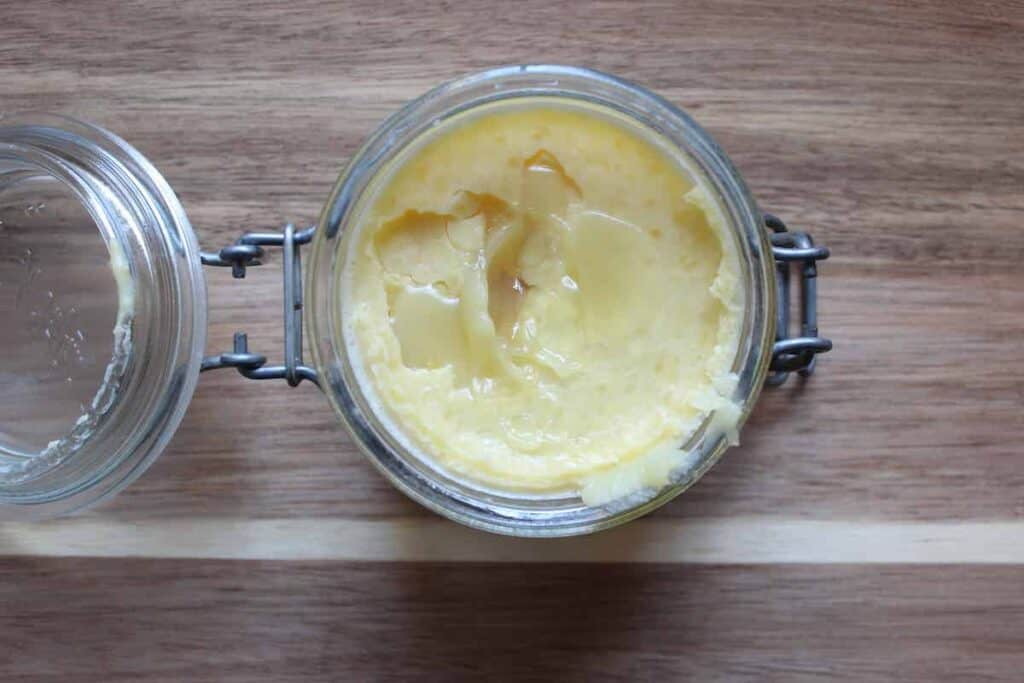
Melt everything together in a double boiler on low heat. Stir the mixture using a popsicle stick to ensure everything is combined.


Once everything is melted, turn off the heat and add any essential oils.

Put the mixture into the freezer until it just becomes solid. If it freezes, you’ll have to wait for it to thaw slightly (by putting it into the fridge) so try to keep an eye on it. It usually takes body butters 20 minutes in the freezer.
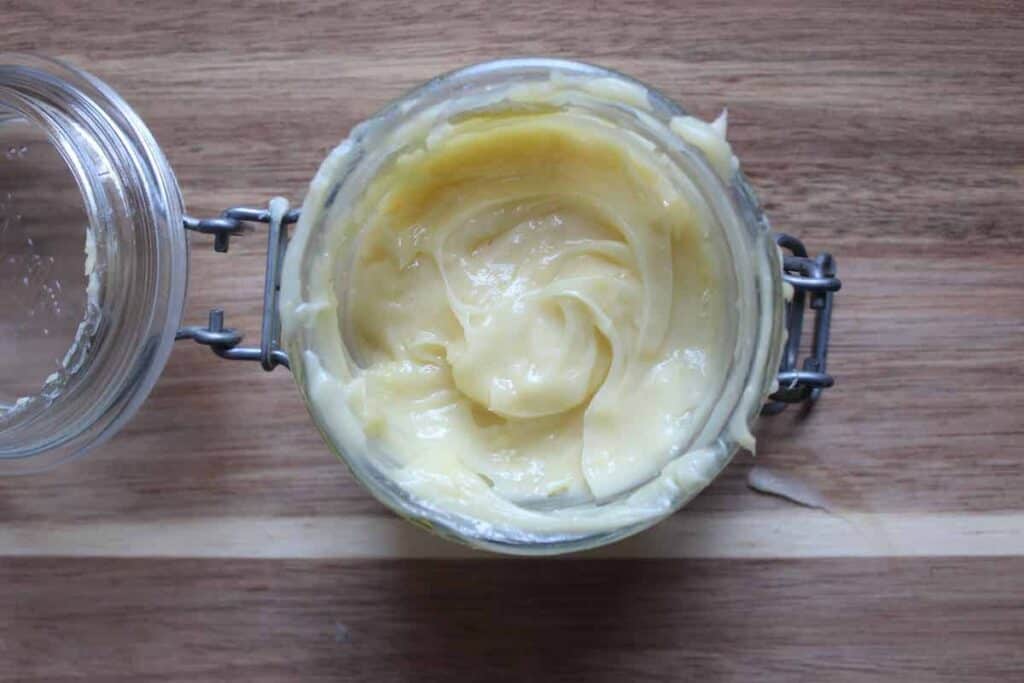
Add the mixture to a food processor and blitz until it is light and fluffy.

Use a spatula to add the beeswax body butter into a glass jar. And that’s it!
This body butter should last 3-6 months if kept in a cool place. I keep mine in our bedroom (not our bathroom) to avoid humidity.
If you make this how-to and enjoy it, please consider giving it 5 stars. Find me on Instagram @documentingsimpleliving and show me what you’ve made!
Simple Body Butter Recipe With Beeswax
Ingredients
Equipment
Method
- Melt everything together in a double boiler on low heat. Stir the mixture using a popsicle stick to ensure everything is combined.
- Once everything is melted, turn off the heat and add any essential oils.
- Put the mixture into the freezer until it just becomes solid. If it freezes, you’ll have to wait for it to thaw slightly (by putting it into the fridge) so try to keep an eye on it. It usually takes body butters 20 minutes in the freezer.
- Add the mixture to a food processor and blitz until it is light and fluffy.
- Use a spatula to add the beeswax body butter into a glass jar. And that’s it!
Can i substitute mango butter for coconut oil?
I haven’t done this personally but I do think this should work.
Can you use cornstarch instead of arrowroot powder?? Thanks
I haven’t personally tried this so I’m not sure – sorry to not be helpful but I don’t want to lead you in the wrong direction!
I’m guessing a food processor is faster? Especially if you don’t have a Kitchenaid stand mixer. However I do have a Kitchenaid hand mixer. I just might give my food processor a try when and if I decide to make this.
Nice! I used a food processor myself.